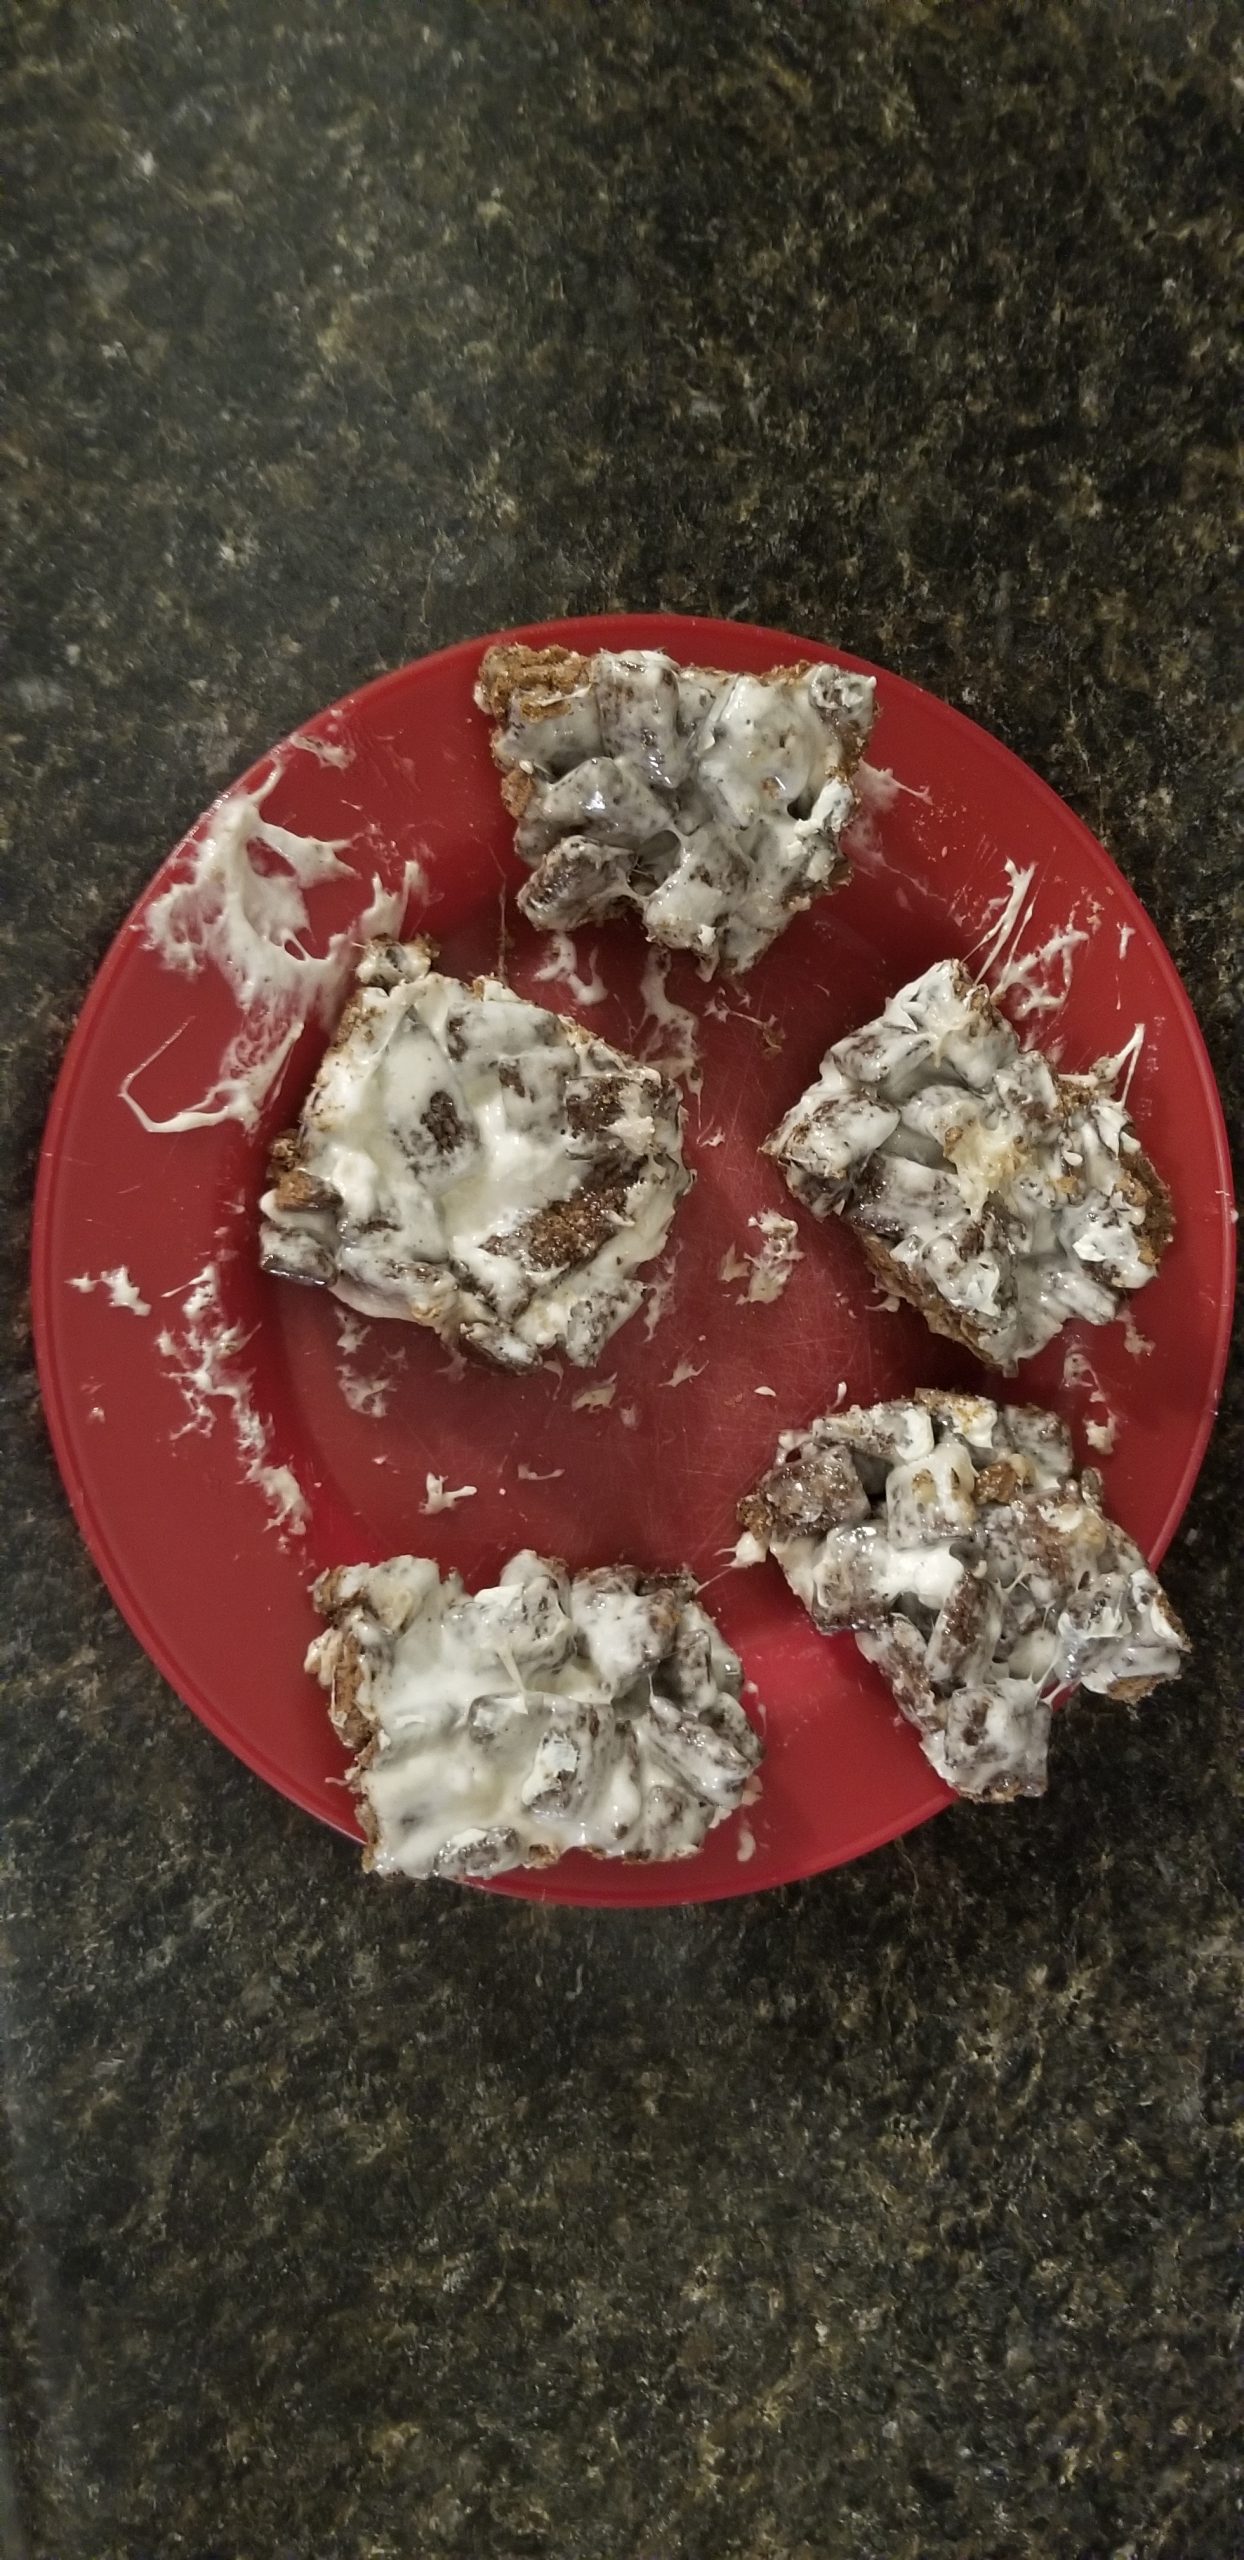
Hershey’s Fillows Chocolate Cereal Bar Recipe
Not much beats a good chocolate bar once in a while. Combine it with breakfast cereal, butter, marshmallows and that’s probably enough to stop the list and get to the recipe because everybody’s mouth is watering. Also, there’s no affiliate links in this article. There could be some day, but none right now.
This kind of came spur of the moment after doing a Midnight Snack on Hershey’s Fillows from the Dollar Tree and realizing that the cereal’s perfect for snacking on, so why not in bar form? All ingredients in this came from the Dollar Tree and cost $1 on the nose. That was over 1 lb of cereal for a dollar, 4 sticks of butter substitute and 1 bag of marshmallows, also only a buck!
Here’s a handy list of everything you’ll need to make these:
| What it is | Name | Where To Find |
| Cookware | Butter Knife | Amazon |
| Cookware | 13×9 Glass Baking Dish | Amazon |
| Cookware | Measuring Cup | Amazon |
| Cookware | Spatula | Amazon |
| Cookware | Large Mixing Bowl | Amazon |
| Ingredient | Hershey’s Fillows | Dollar Tree |
| Ingredient | Mini Marshmallows | Dollar Tree |
| Ingredient | Butter | Dollar Tree |
Prep time: 2 Hours
Yield: 15 Bars
The Recipe
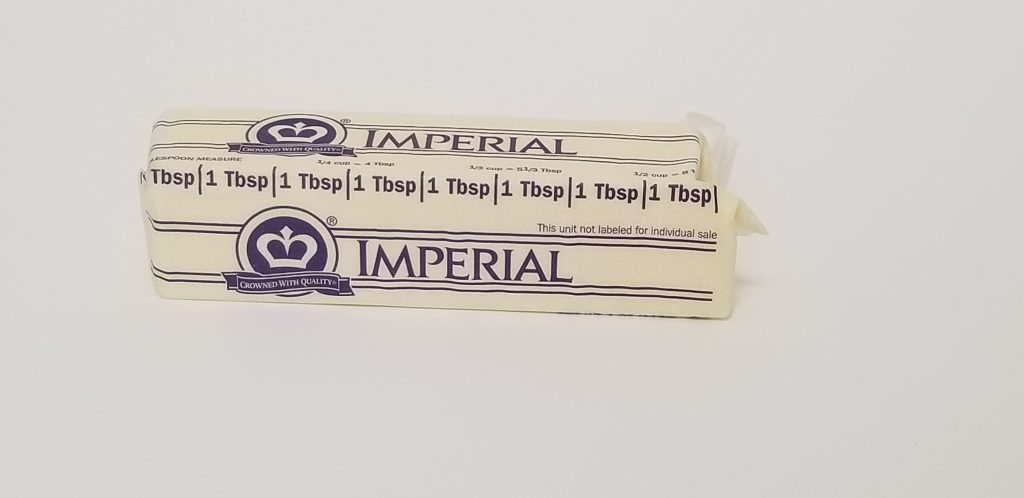
To start off, you’ll need to get the butter out and bring it to room temperature. Set your stick of butter on the counter (or a plate) for 30 minutes to bring it to room temp.
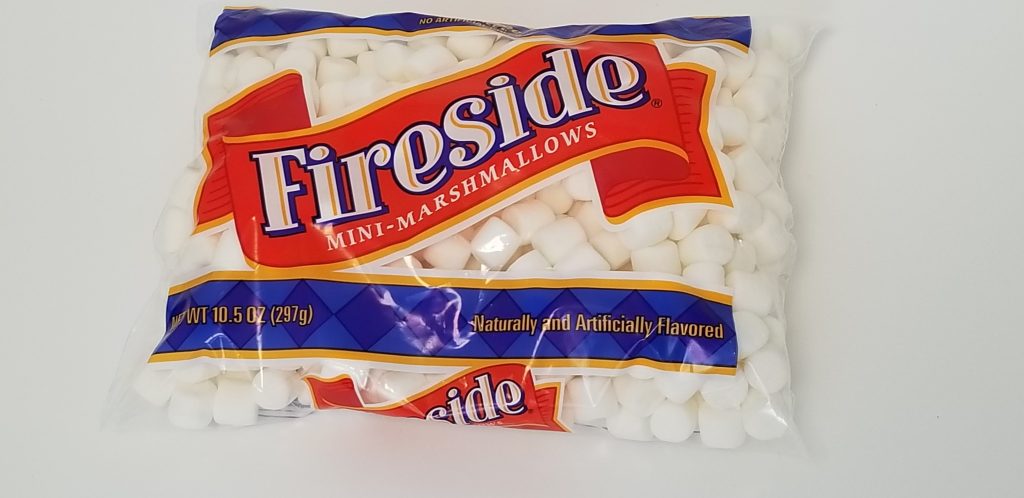
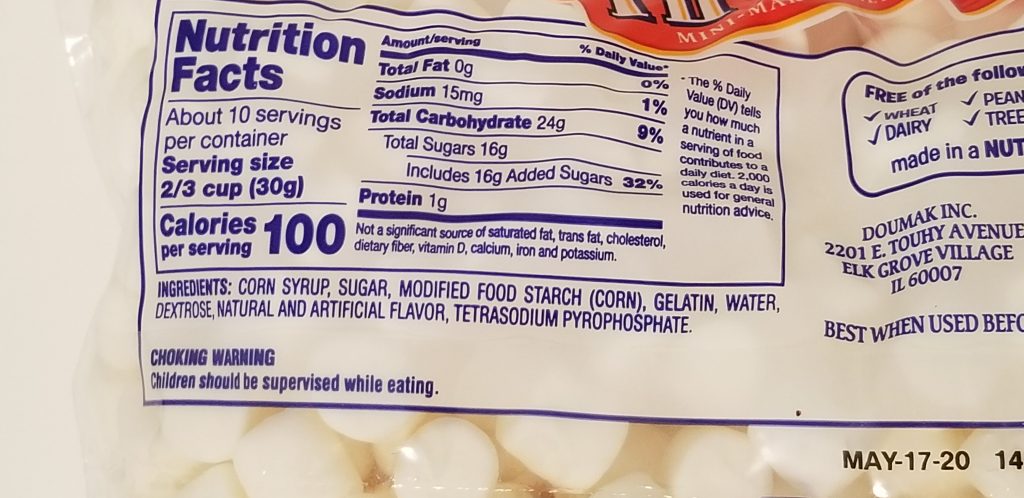
Next, grab your marshmallows.
Last but not least, you’ll need some Hershey’s Fillows.
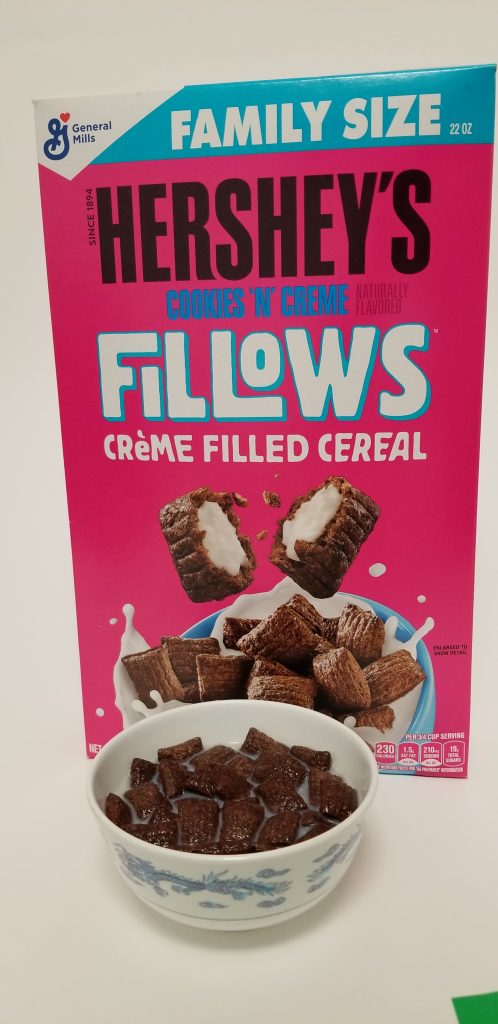
You can find a box of Hershey’s Fillows Cookies and Cream at the Dollar Tree. (Also at Walmart and on Amazon).
The Butter and Marshmallows
We used 3 tablespoons of butter with this. It seemed like that was the right amount, but then the bars themselves were kind of falling apartment. For yours, best use half of what we did with 1.5 tablespoons at most.
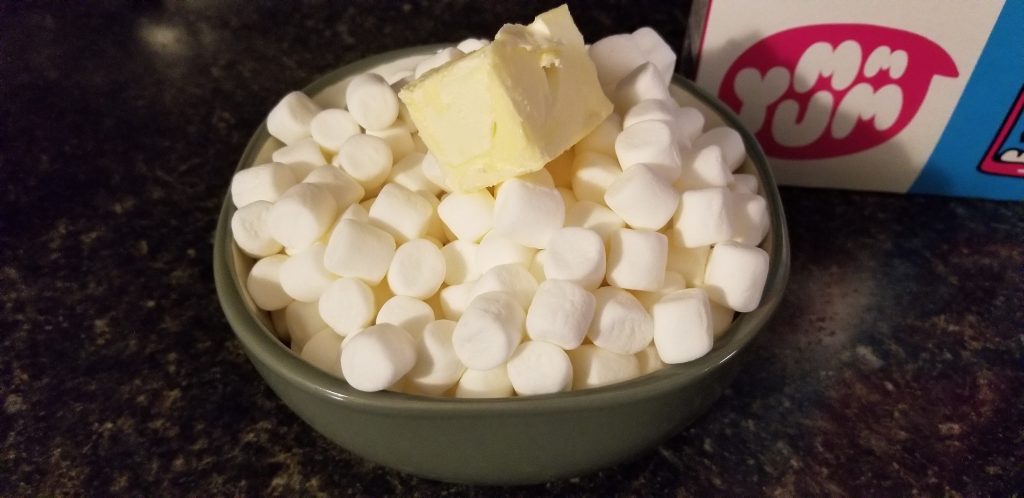
Dump the whole bag of marshmallows into the mixing bowl and drop your tablespoon of butter on there.
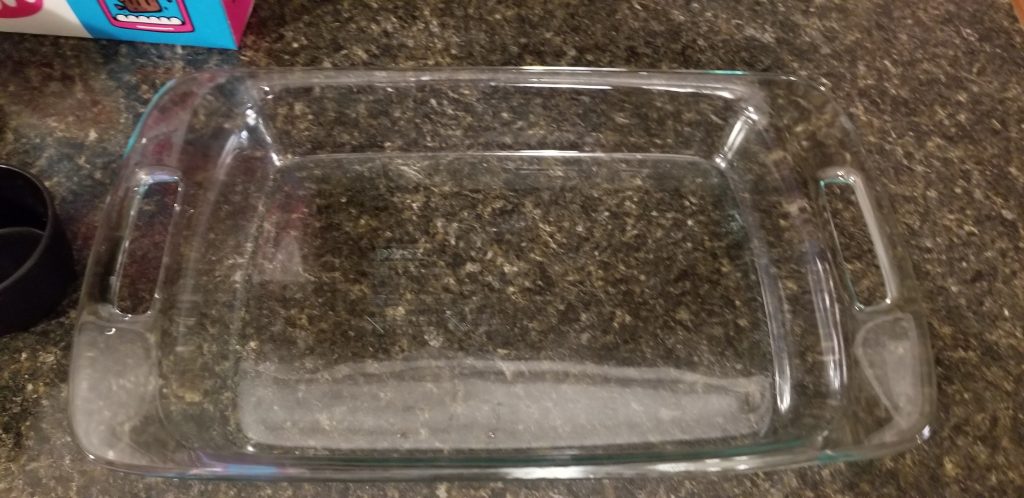
Then, grab your baking pan.
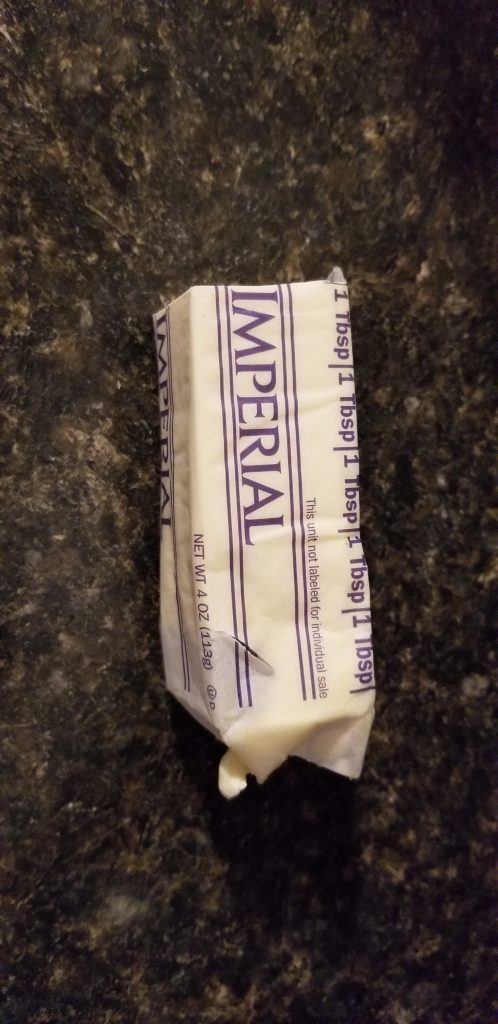
Remember that stick of butter? You’ll need it again to butter the baking pan.
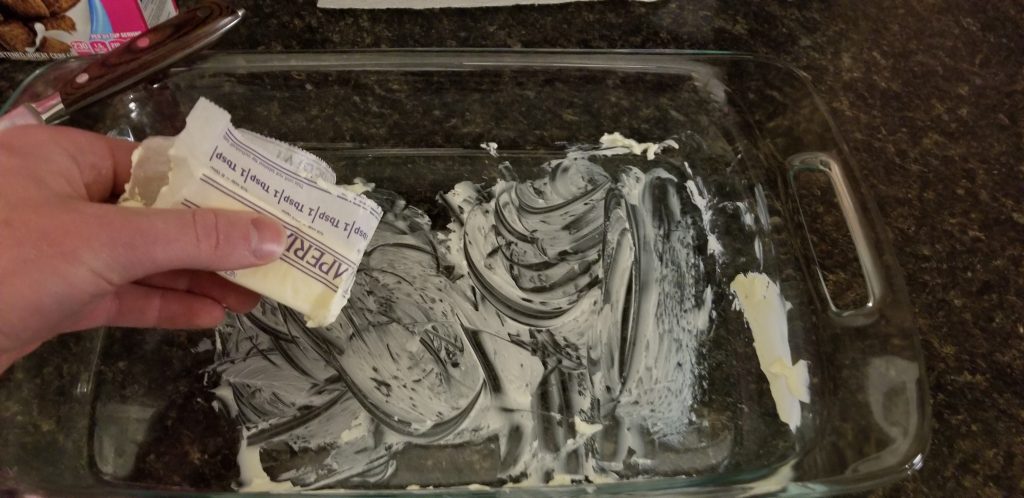
Another note for hindsight, you could probably be safe only using a little bit of butter for this part. We definitely over did it. But hey, everybody likes having more butter, right?
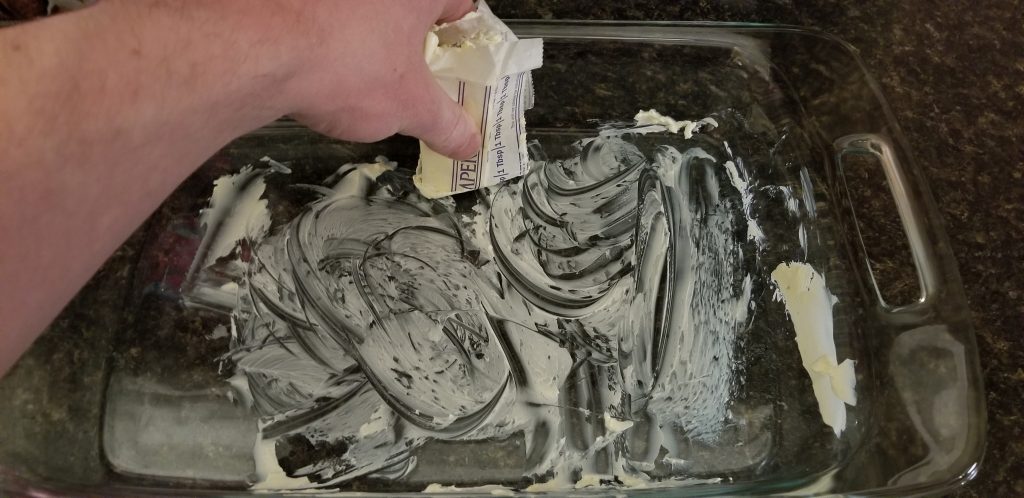
That butter chunk on the far right really didn’t need to be there. Go away butter.

Try not to smash up the end of the butter too much, you’ll be able to use it for other things later and the measuring part of the wrapper won’t work if it’s a butter glob.
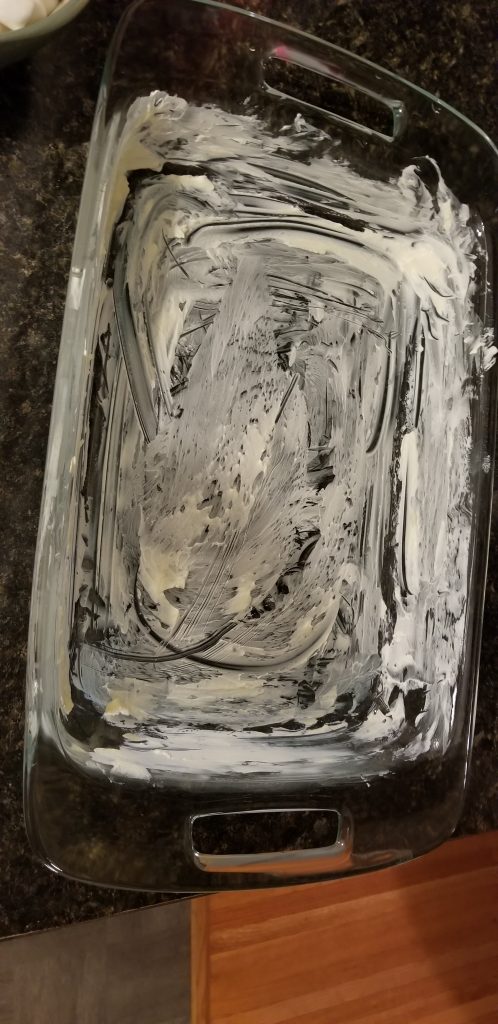
So, yea. Your pan should be about half as buttered as this one.
Next, grab that bowl with the butter and marshmallows in it.
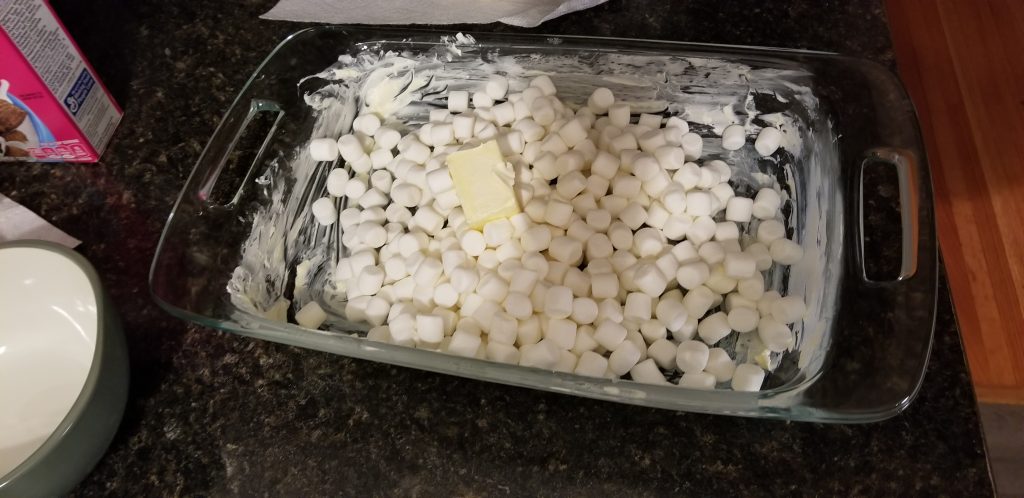
Pour (or scoop, whatever works better) the marshmallows and butter into the baking pan.
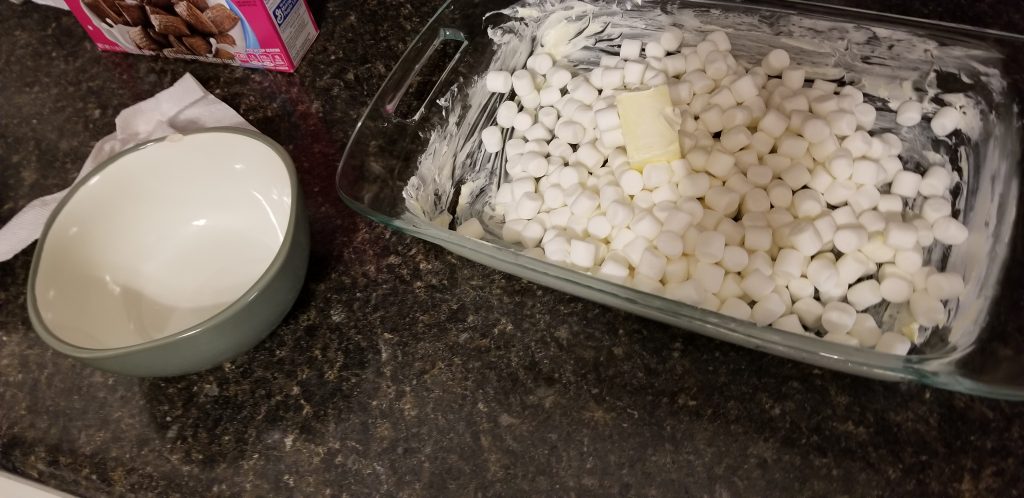
Leave no survivors in that bowl.

In case you have a little rascal in the kitchen like Tilly here, keep an eye on them so they don’t cause too much trouble!
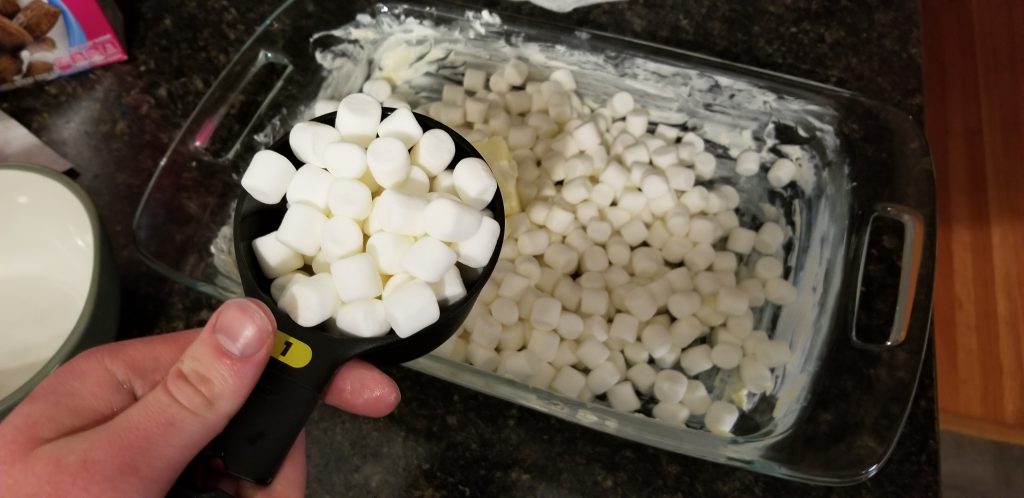
Should you have a measuring cup handy, one of those works great for scooping everything into the dish. If you don’t, you can probably find one on Amazon.
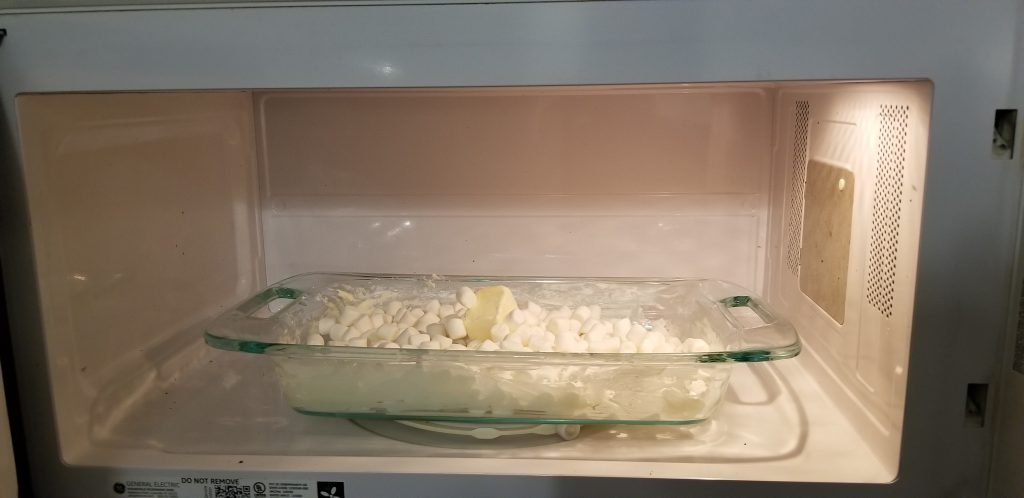
Take the baking dish and set it in the microwave. Unfortunately, it probably won’t be able to completely rotate around in circles. The good news is that this should still heat pretty evenly since you’ll be mixing this soon after it comes out.
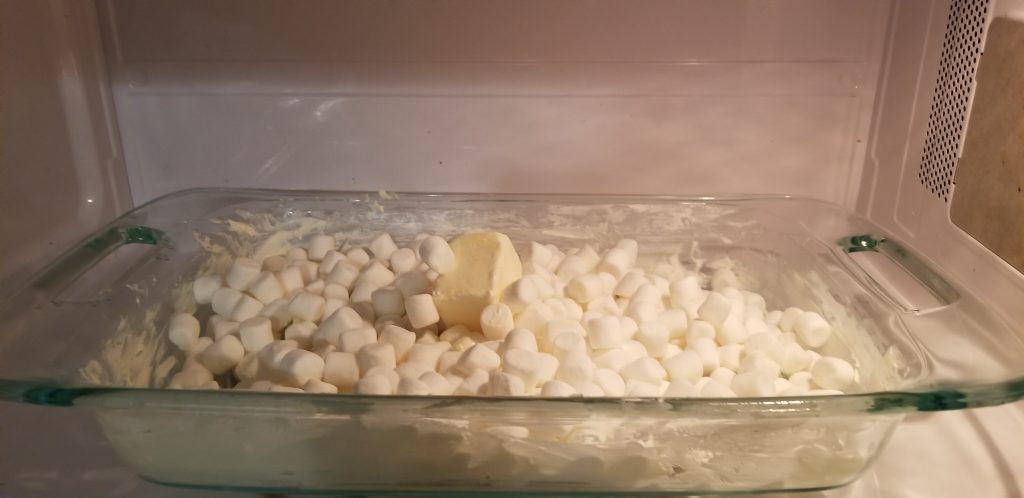
It might also be a good idea for you to cut up your butter and more evenly distribute it around the marshmallows before heating.
Cook at medium power for about 30 seconds. You will need to make sure that the butter is actually melted. If the room temperature at your house is -10 then it might take longer for the butter to melt and more time might be needed.
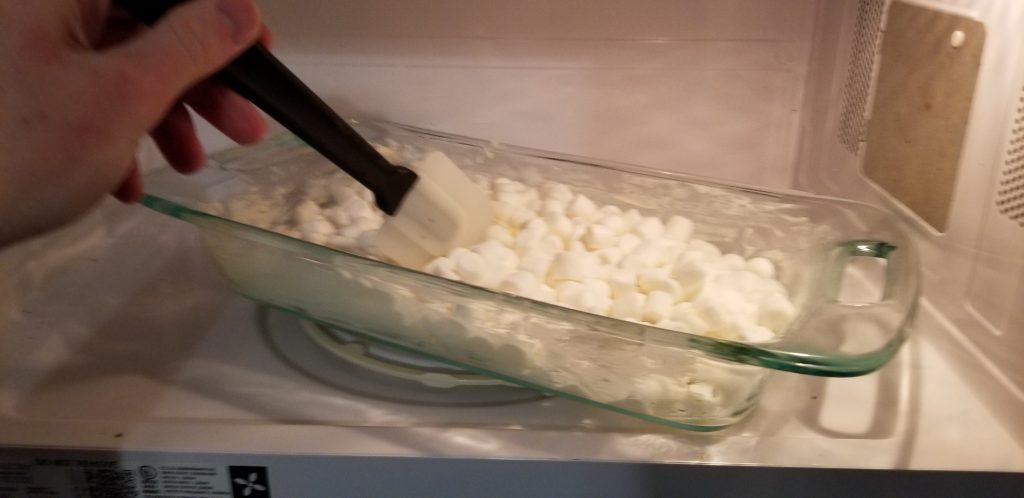
After the first 30 seconds, go and poke the spatula in there to mix around the butter and marshmallows a bit.
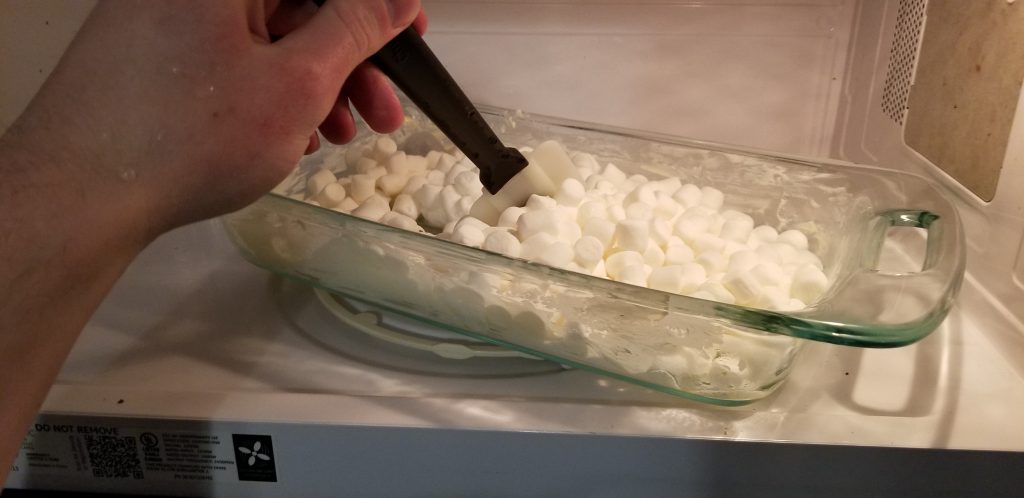
Don’t hesitate to really jam it in there and mix things around.
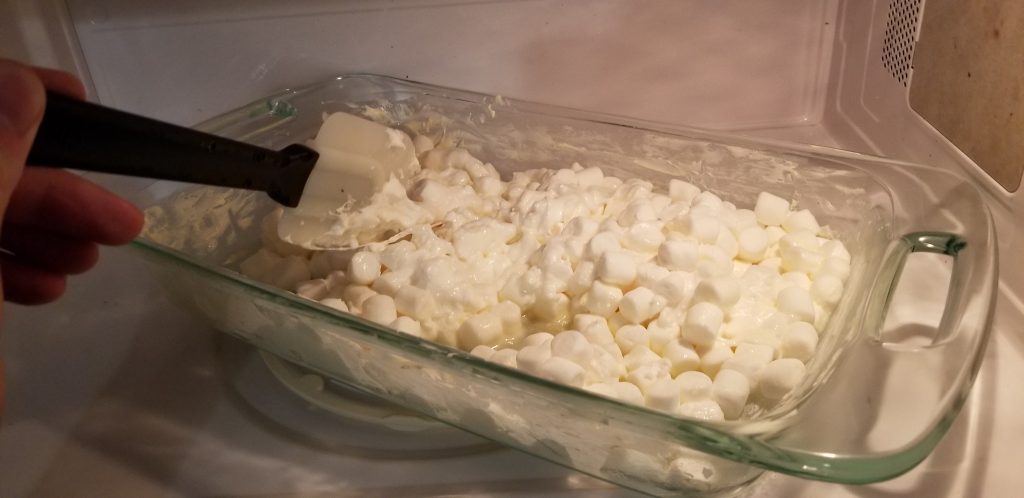
An additional heads up, the marshmallows will probably stick to the spatula big time. I warned you.
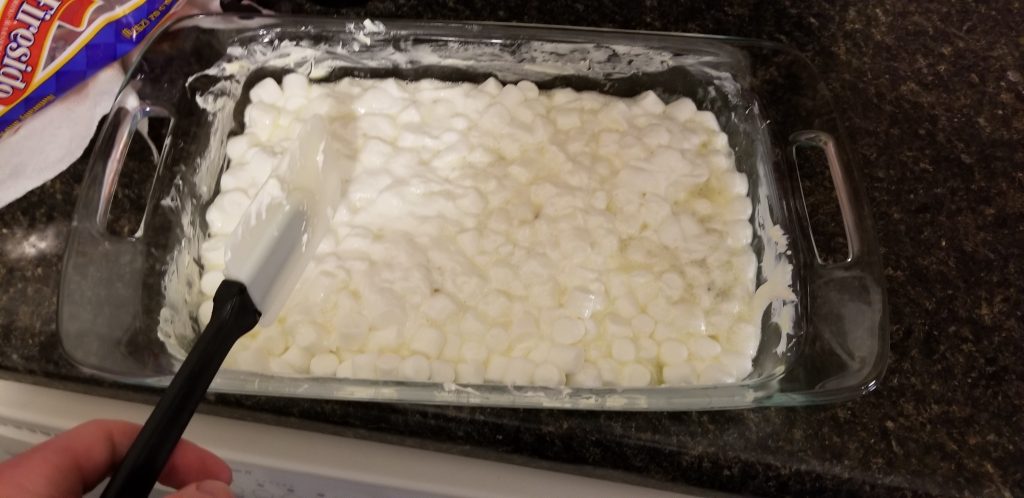
Once you have things mixed around as evenly as possible and any marshmallow globs have been scraped off the spatula (or eaten off it) you’ll need to grab the Hershey’s Fillows.
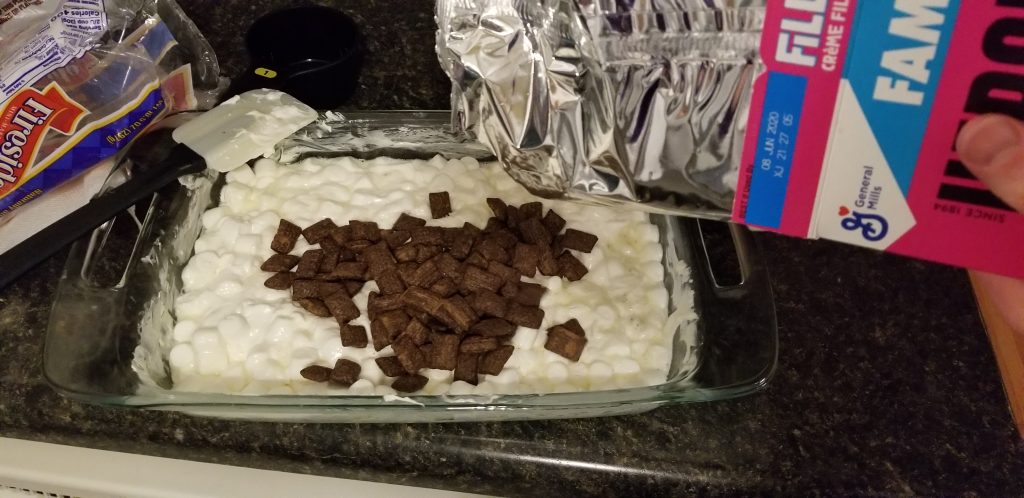
Our bag already had a bit of a dent in it from snacking on it and doing the review, so, we ultimately decided to pour everything that was left in there in with the mallow-butter mixture.
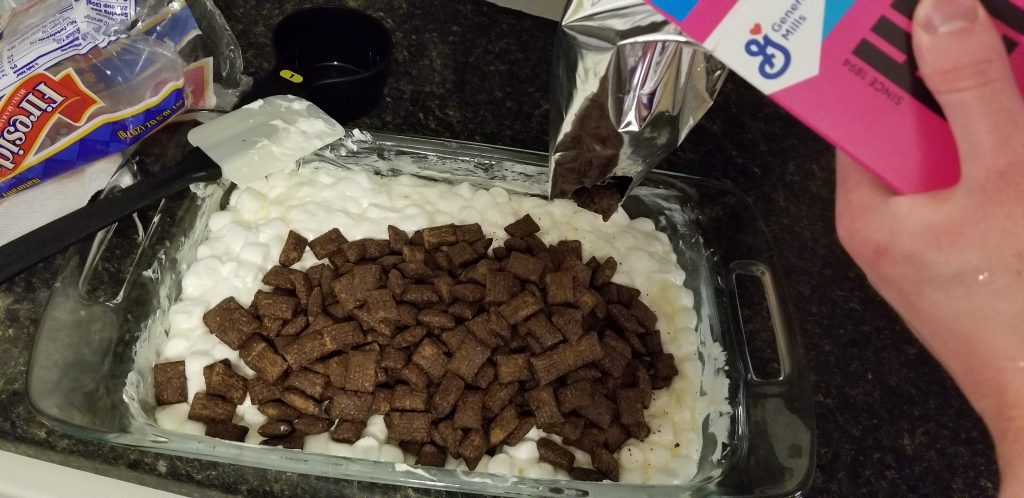
The Fillows themselves are actually pretty big individually, which is nice. Now you want to mix them around as best as possible with the marshmallows so there’s an even distribution throughout the baking dish.
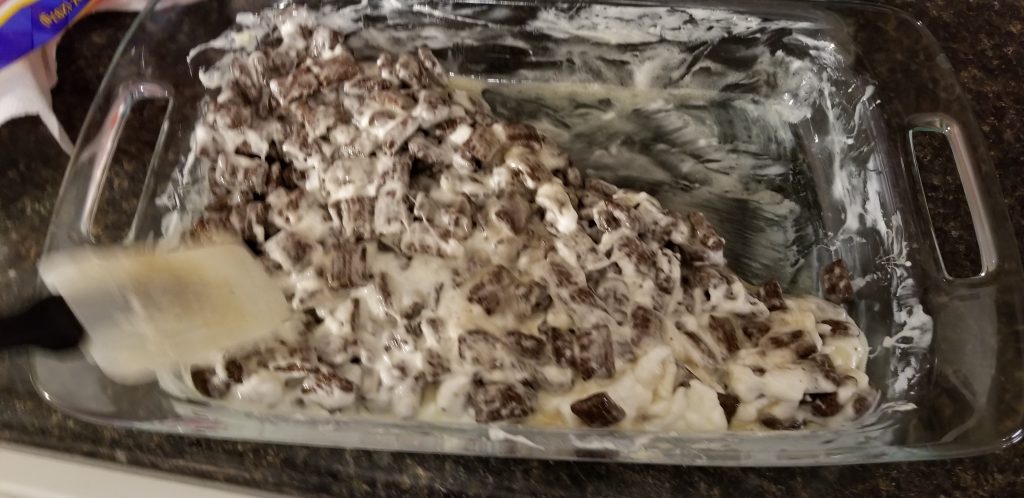
The marshmallow will gradually become more firm, although with the amount of butter we put in that was never a problem during this process.
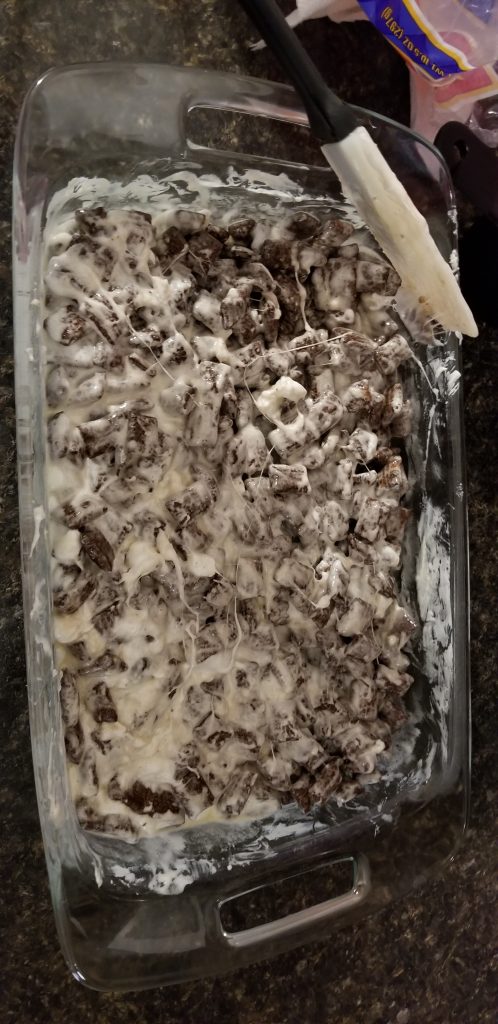
It should look something like that above. Next, you will need to let it harden so that this can actually be cut into bars. If you live in Minnesota like we do, this can just go out in the snow for an hour to guarantee maximum hardness.

Pick a snow bank, any snow bank.
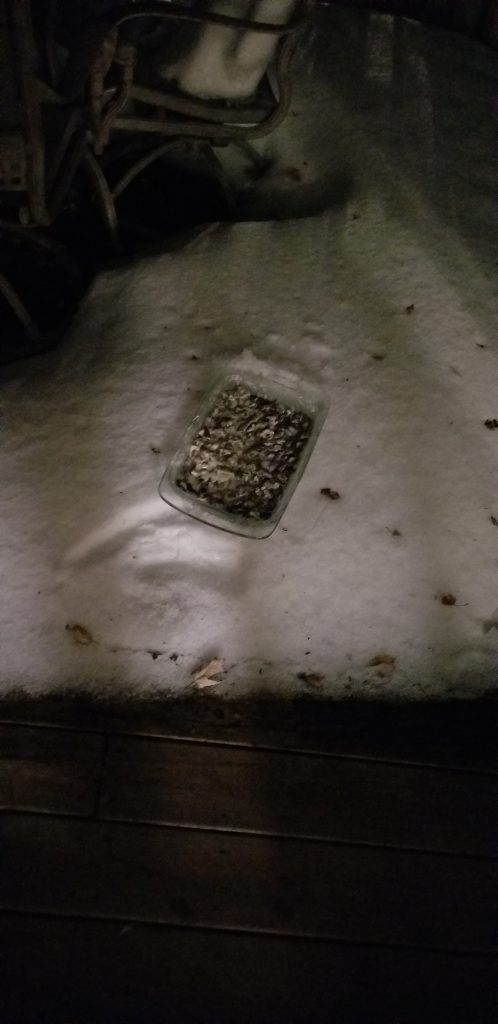
If you do decide on the snow method, don’t hesitate to jam an indent into the pile it sits on. Darn thing almost slid off on to the deck.
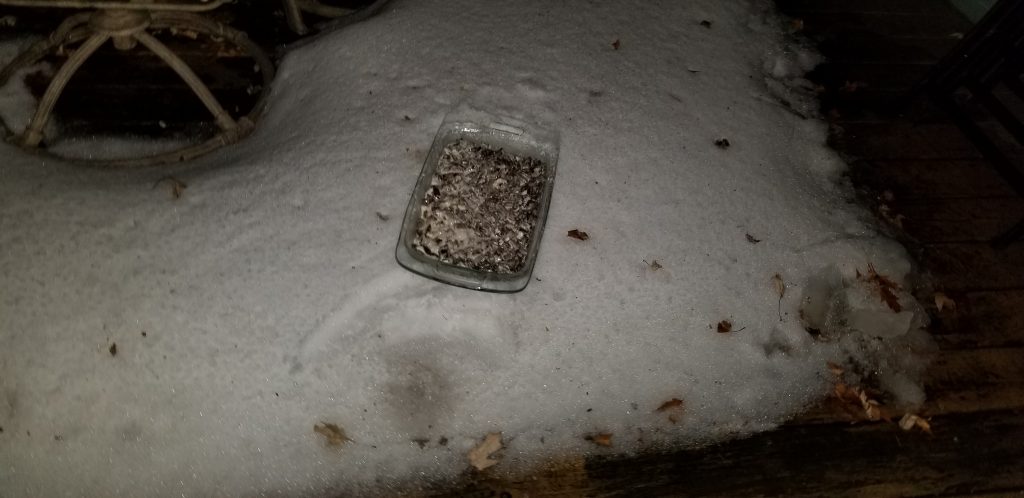
Once everything’s thoroughly chilled, bring ’em back in the house (or take them out of the fridge, if you did that instead) and get ready to cut them.
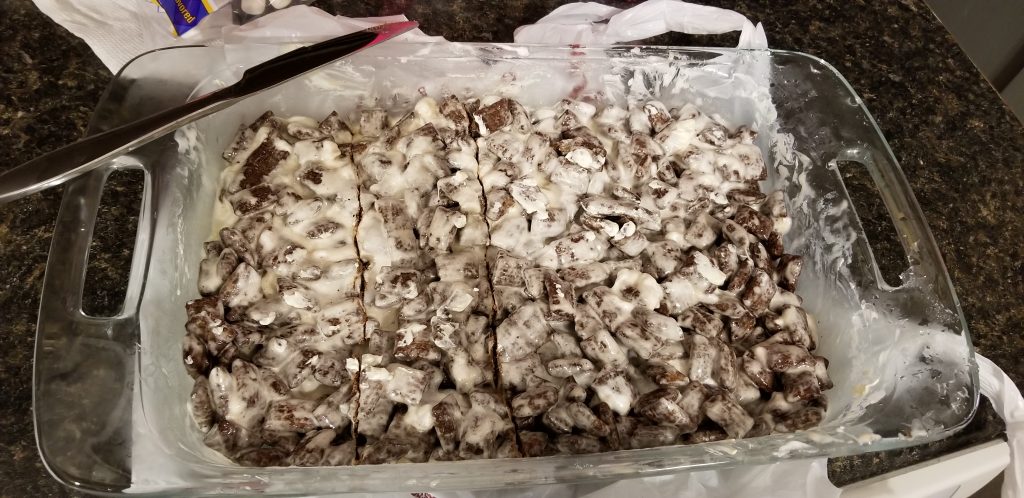
A butter knife should work fine for cutting your bars. If they get way too hard, a lightsaber will also suffice.
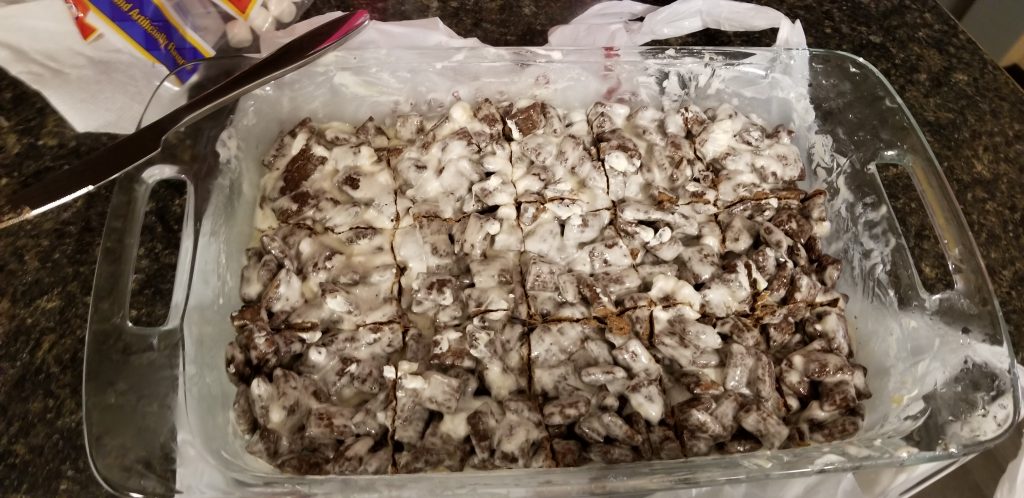
The bars I made weren’t completely even, the ones on the far right are slightly smaller than the rest. Fortunately, these are actually pretty sweet (if you couldn’t guess that) so if you plan on eating them yourself, it will take a while to make your way over to the small ones anyhow.
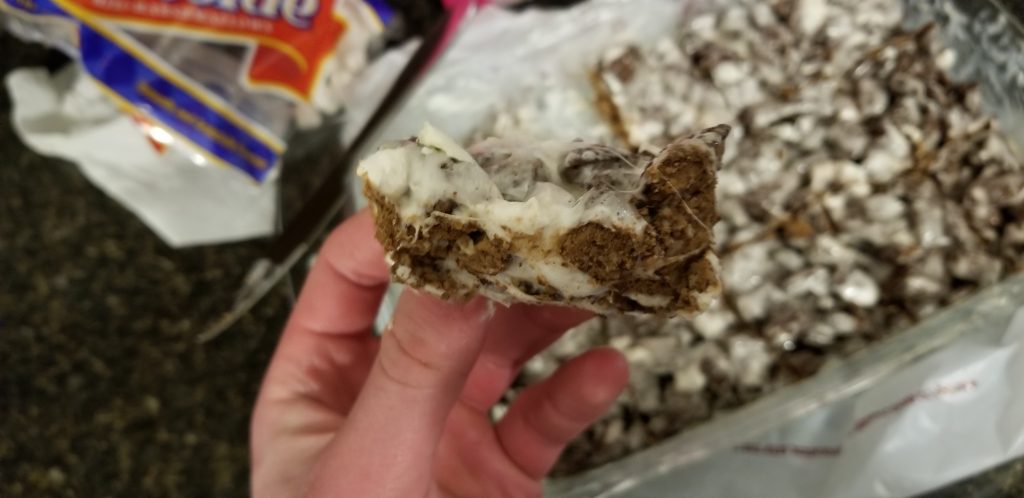
If I could do it again, I’d probably use a pan with 90 degree corners instead of rounded ones. Not the end of the world, but yea.
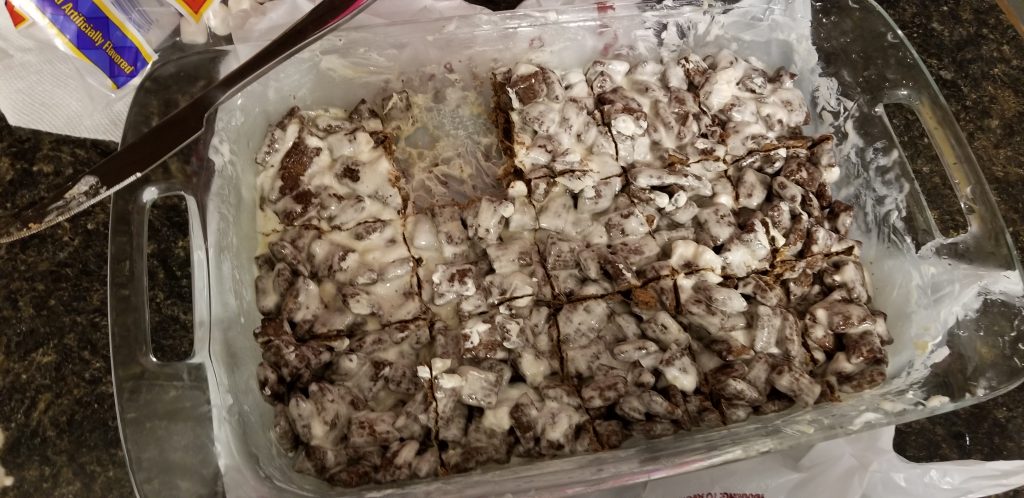
It may also take some prying to get the bar out. This can leave marshmallowy residue on the plate, too.
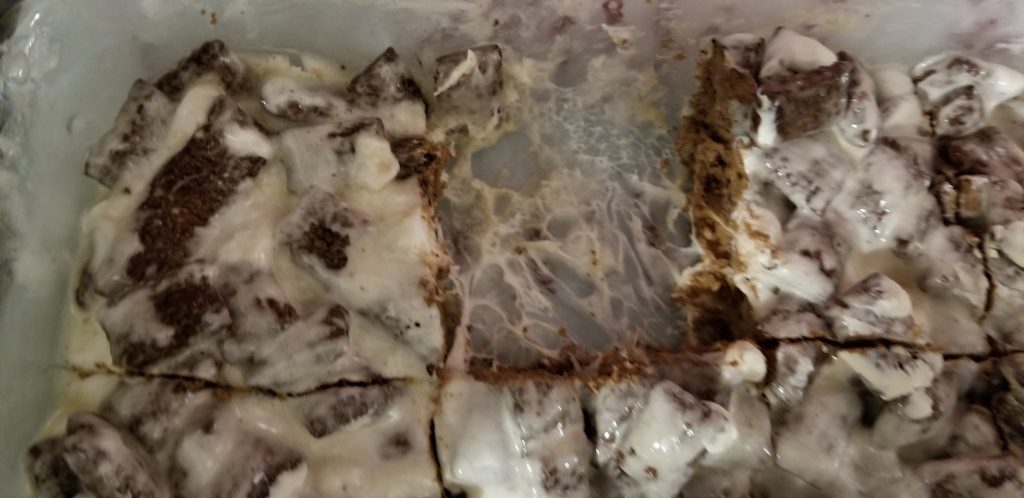
It wasn’t a ton, but there’s also a little cereal piece that got left behind.
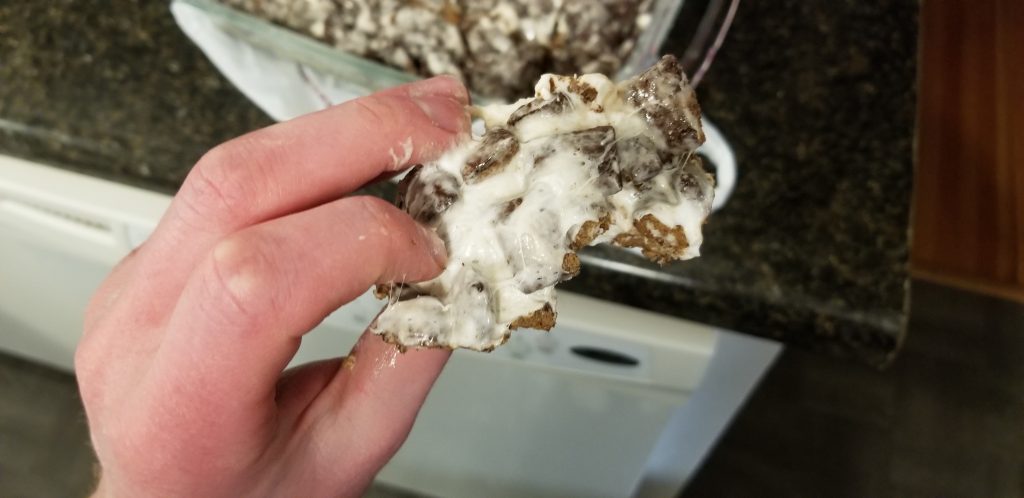
Some may also look like straight up cereal marshmallow goops.
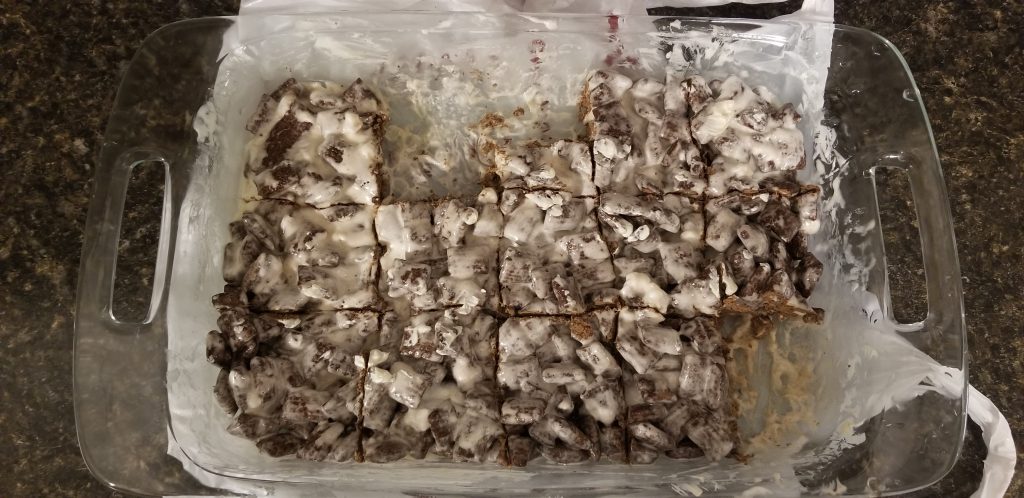
We did manage to cut ours pretty even, which was nice.
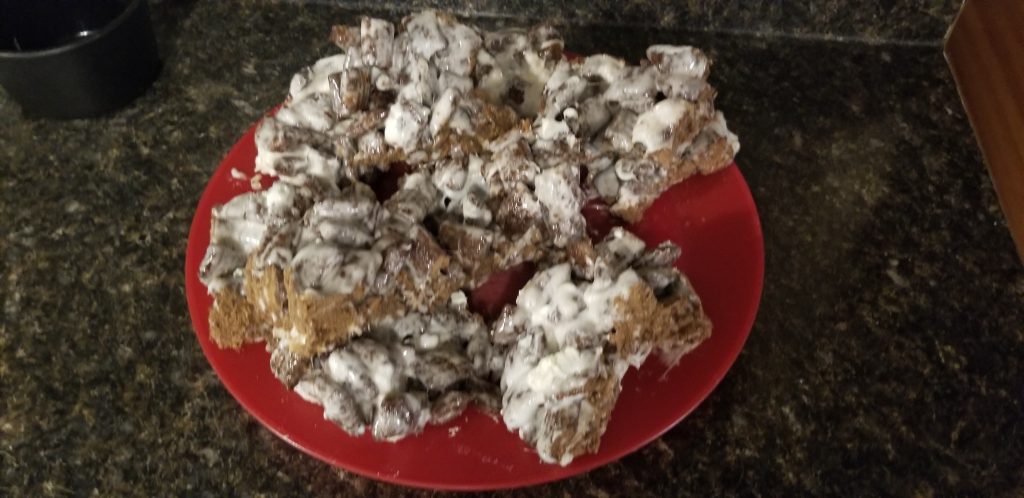
Stacking them on a plate for mass consumption later is also advisable.
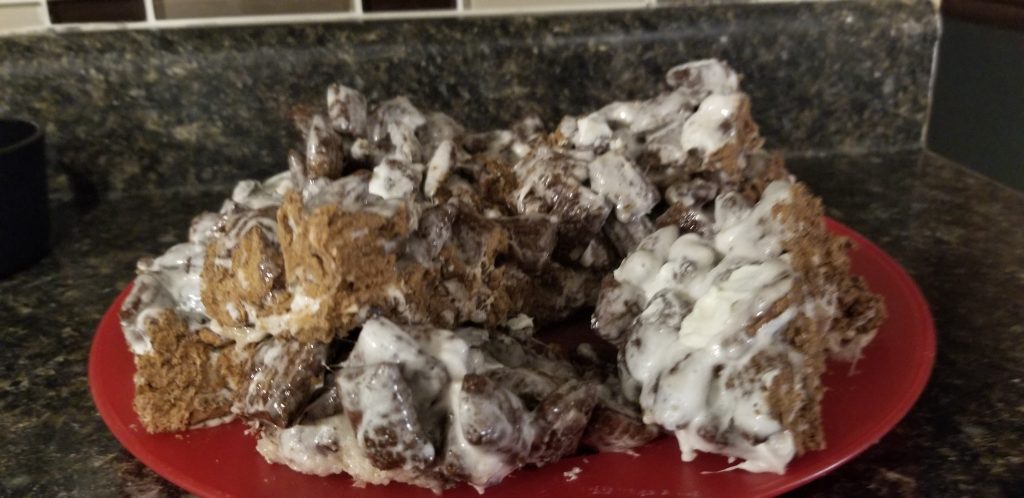
If there’s an excess amount of butter, you may need to worry about them sort of melting at room temperature. We planned on eating all of these things the same night, so that wasn’t a big concern.
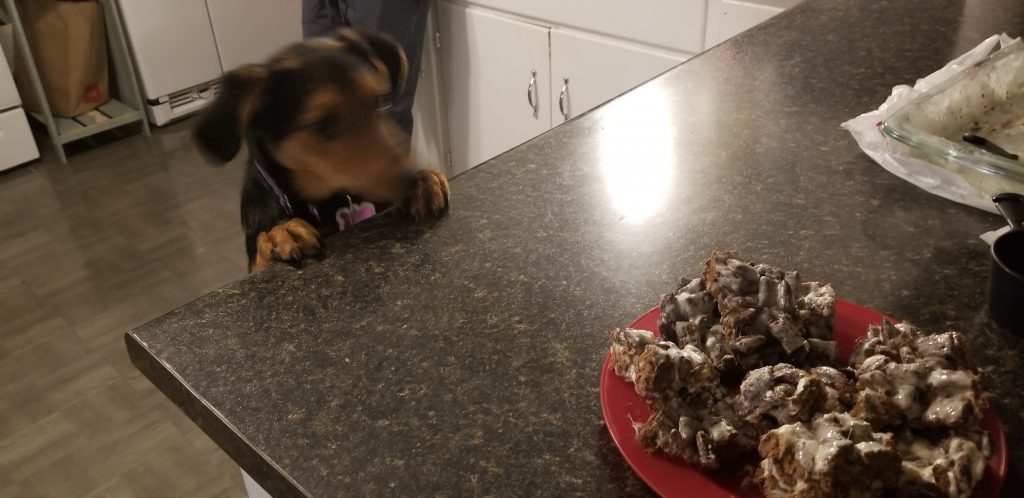
Keep it away from the edge if you have a dog.
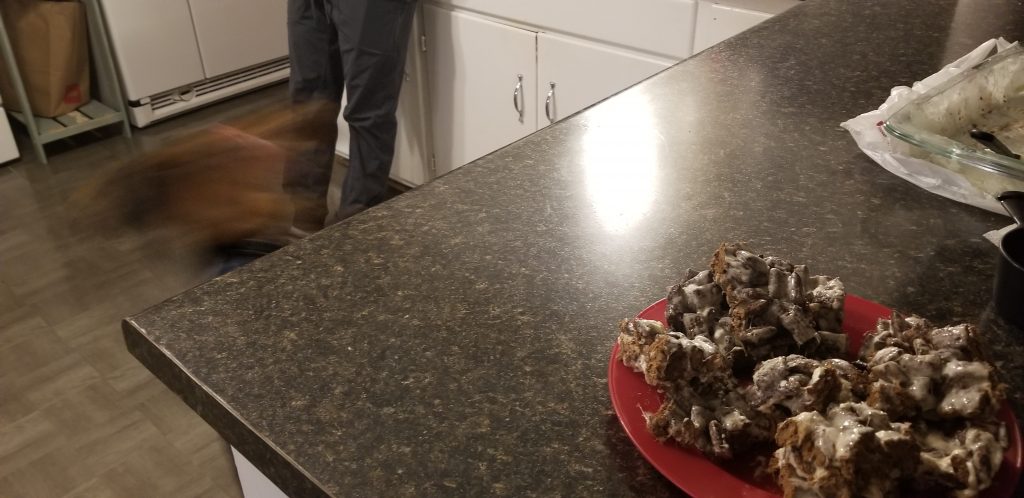
You could also grab a spray bottle to ward off any animals.
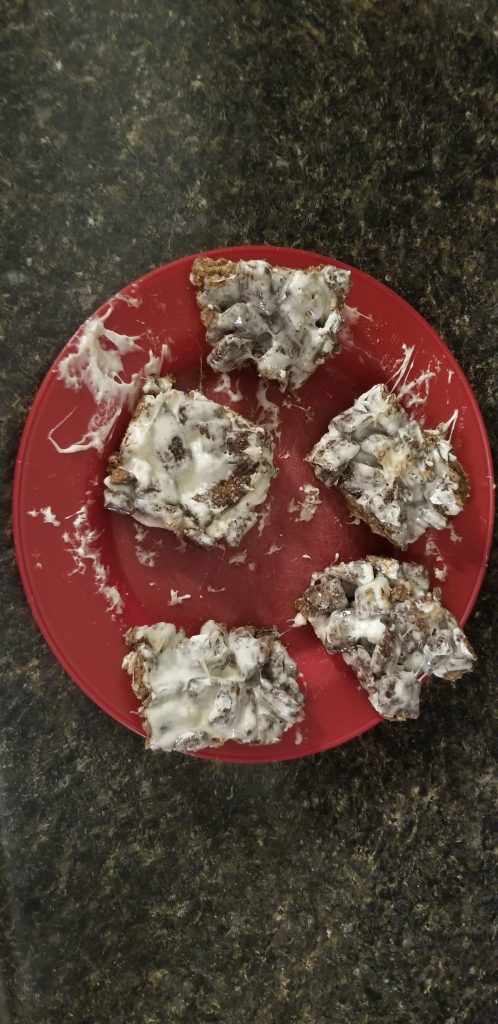
Since these can also get a bit sticky, best keep some paper towels or wet wipes close by when you do eat them. Also, if you’re making these for someone else, give them the courtesy ahead of time that they’ll need something to clean their fingers (and maybe face).
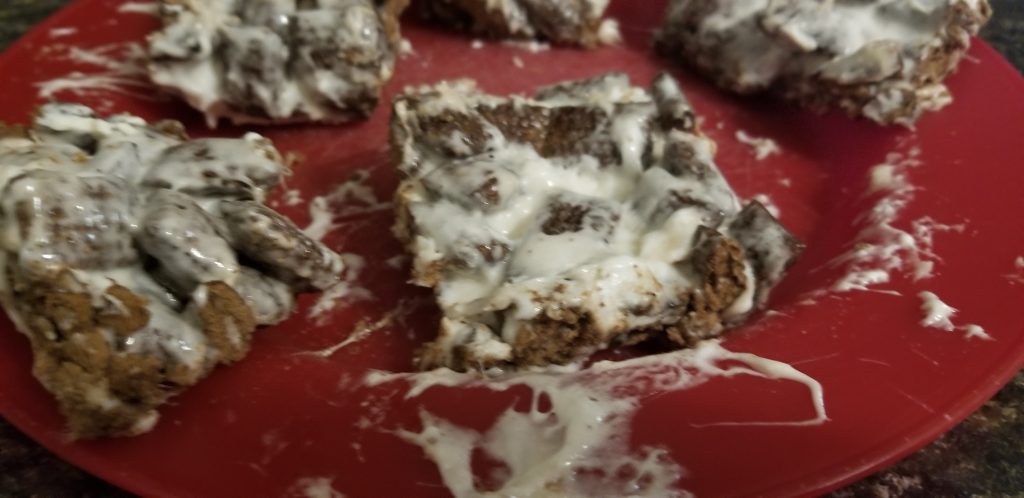
The butter shouldn’t get too stuck on your plate, although there was some scrubbing involved when it came time to clean up.
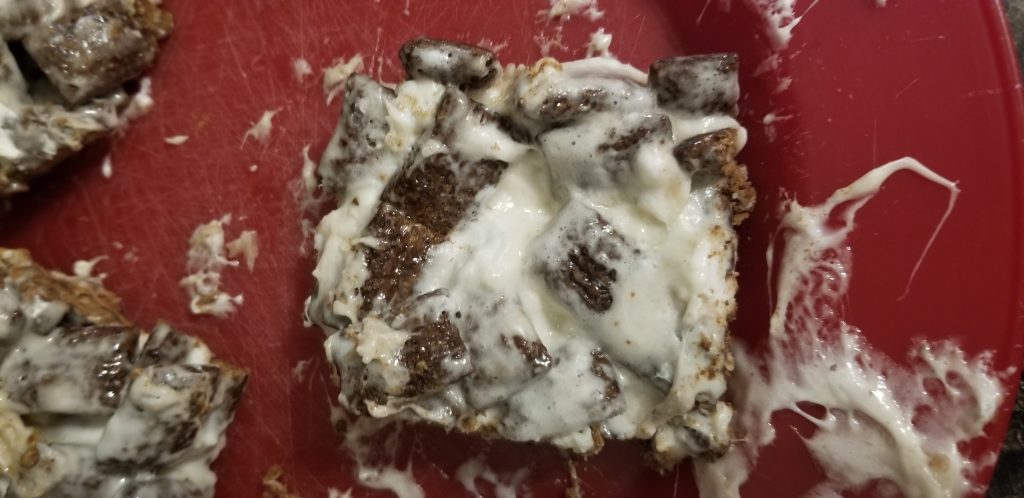
These are great to have whenever, although as a snack or dessert especially.
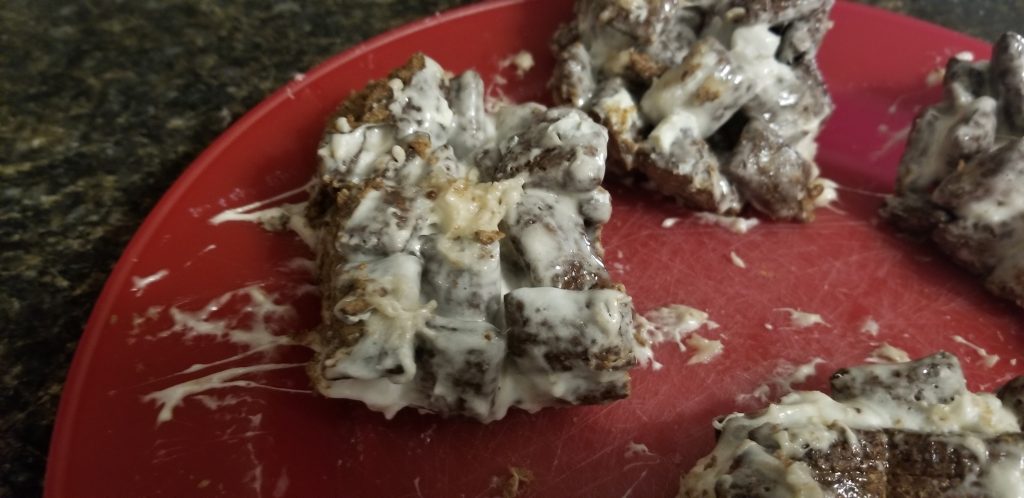
If I’m not wrong, I’d say that there’s a butter chunk that escaped mixing and it’s just sitting there on top of that one.
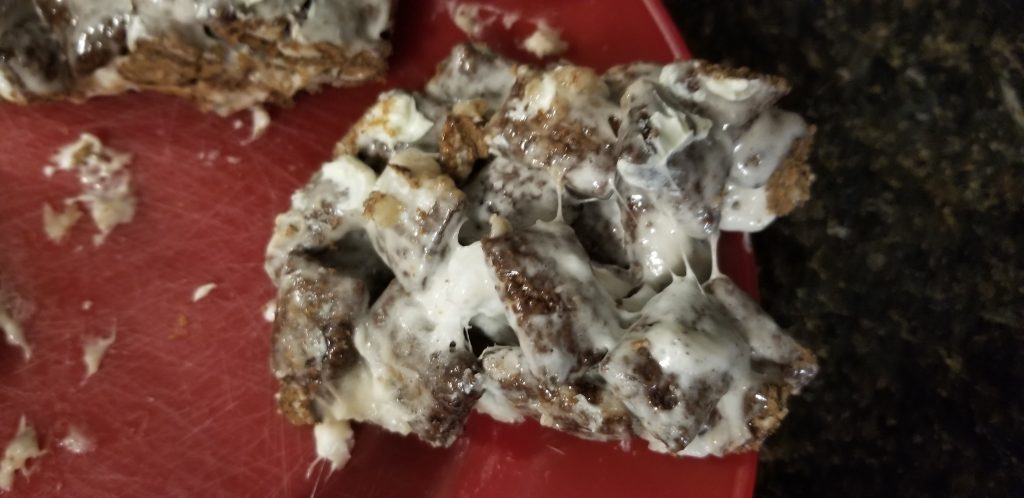
This bar couldn’t quite hold together. One thing I was also experimenting with here was smashing the cereal up before mixing it in. The next cereal bar recipe will probably involve the blender.
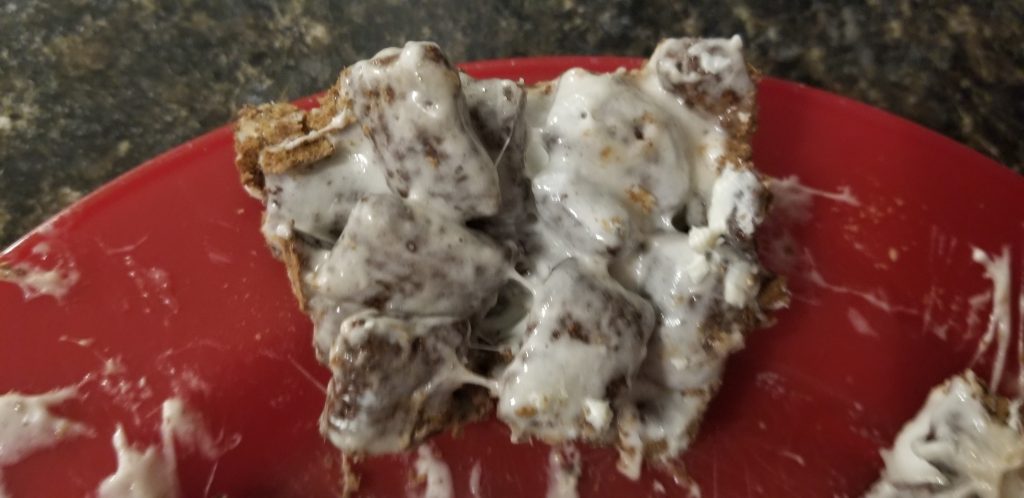
Not sure if melded together or one big one just broke in half.
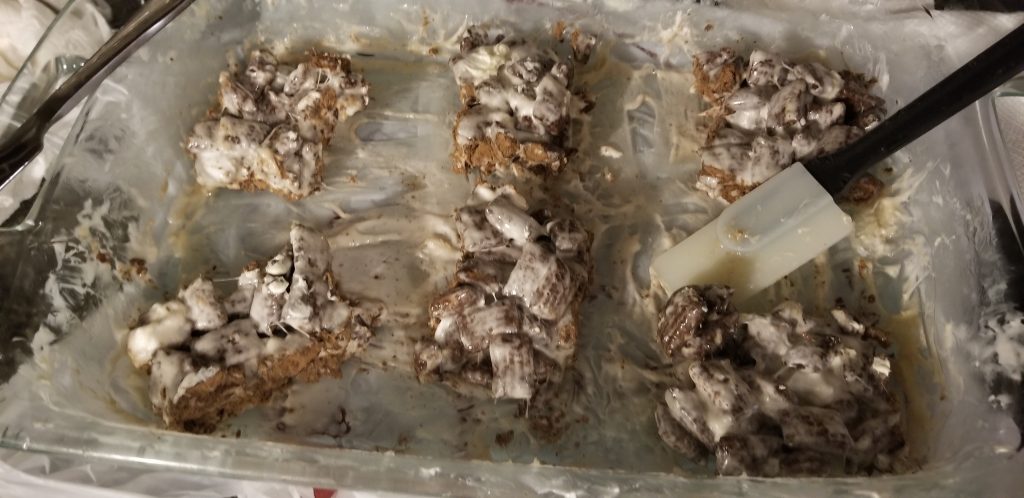
If you have a wider spatula, that may also prove to be more effective.
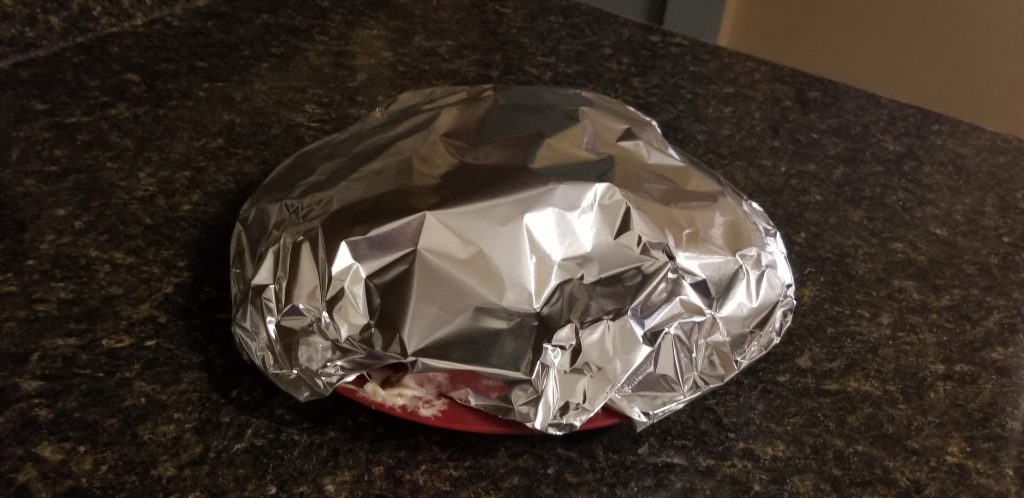
When everything is scooped on to the plate, you can pretend to cover them for later. Then, come back after an hour and tear into ’em.
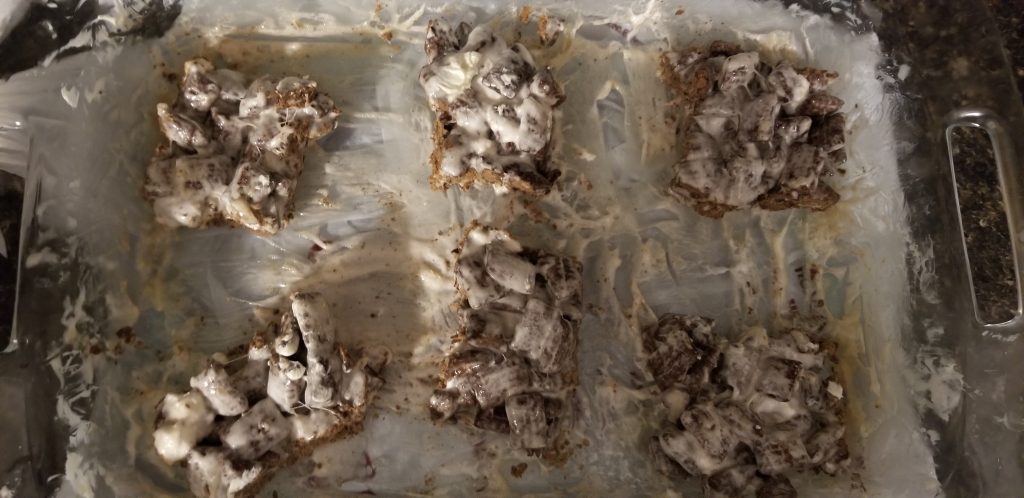
There’s a few stray marshmallow in there.
In Closing
These bars can be a great addition to your pantry or really any get together with roommates. It might be tough to find the Fillows because they kind of go in and out quick at the Dollar Tree, but Googling any of those other places that might have them should yield results. Always remember to eat a balanced diet and only do treats like these about once a week (especially if you’ll be taking them all down yourself or with just one other person). Thanks for reading! Please share this on social media if you liked the recipe.
